
Most people use several online apps and services in the course of their day. Wouldn’t it be great if we could connect these to make them work better together?
Microsoft Flow, a tool from Microsoft, allows you to do just that. Read on for an introduction to Microsoft Flow and how it lets you created link services in amazing ways.
What Is Microsoft Flow?
Microsoft Flow is a web service from Microsoft that allows you to connect various apps and services in automated workflows. This is something that can traditionally take a lot of time, because services don’t always provide easy ways to connect to others.
But Flow makes it easy. All you need to do is sign in with a Microsoft account to start making workflows. Microsoft offers a limited free plan to everyone, but if your company uses Office 365, you’ll get additional usage out of it.
Let’s take a look at the basics of trying Flow.
Getting Started With Microsoft Flow
Head to the Microsoft Flow homepage. If you have a Microsoft account already, click Sign in in the top-right. Log in with your company Office 365 credentials to access advanced features. If you don’t have a Microsoft account, choose Sign up free and create one instead.
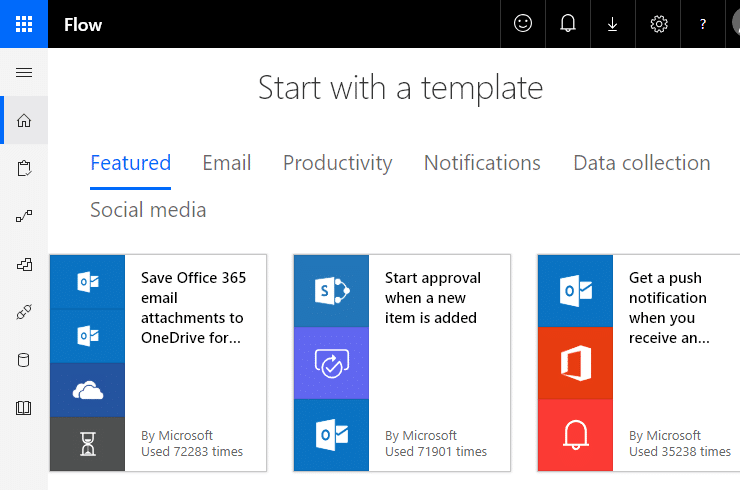
Once you do, you’ll see the Home page of Flow. This has collections of templates that Microsoft recommends trying. If you’re not interested in these yet, scroll down until you see the Start with a template section. Here you’ll find many handy workflow templates that are ready to use after brief configuration.
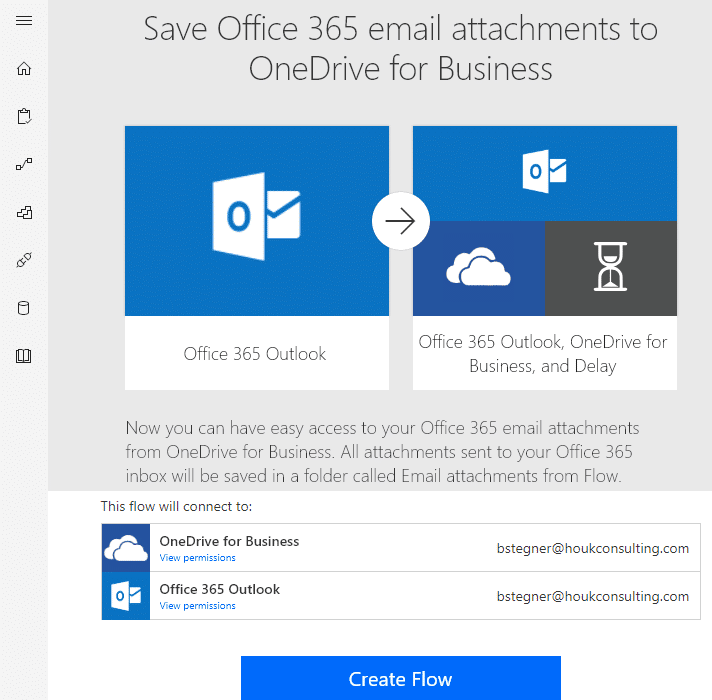
We’ll start with a simple one called Save Office 365 email attachments to OneDrive for Business. This is a workflow Microsoft created and does just as the name implies.
Click it, and you’ll see an overview of what it does. At the bottom of the page, it shows a list of the connectors that the flow connects to. You can use View permissions if you’d like to see what access Microsoft Flow has to those services.
In this case, the workflow only involves Microsoft services, so we don’t need to authorize any third-party accounts. Click Create Flow to add it to your collection.
Now it’s activated. You can see your active flows anytime by clicking My flows in the left sidebar. After choosing one, you can edit it, view statistics, and reviews its history.
Adding Connectors
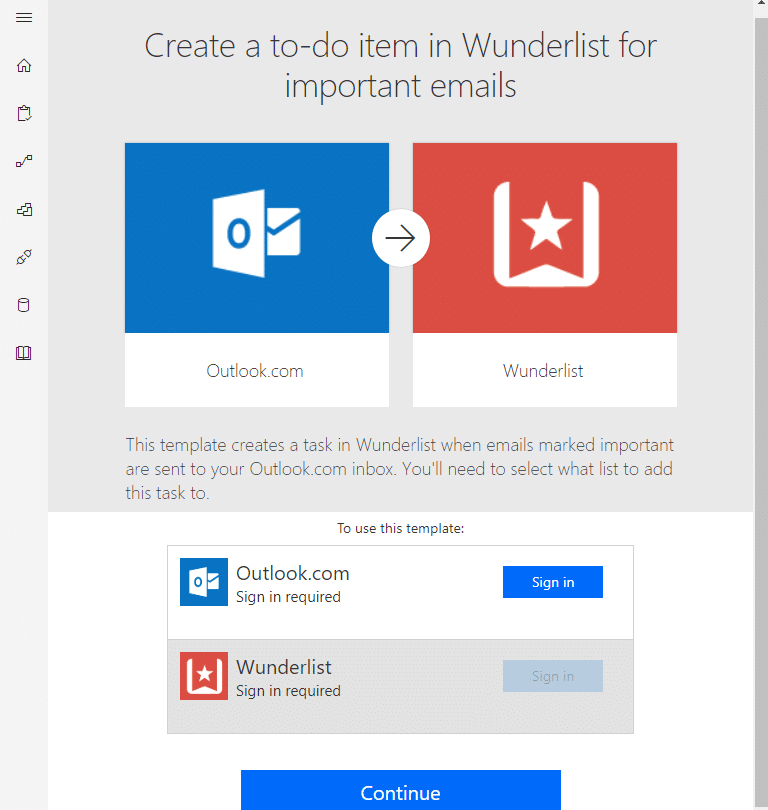
You’ll need to authorize Microsoft Flow to access each account that you use with it. When you create a new flow with a service you haven’t signed into yet, you’ll see a Sign in button. Enter your credentials here to continue.
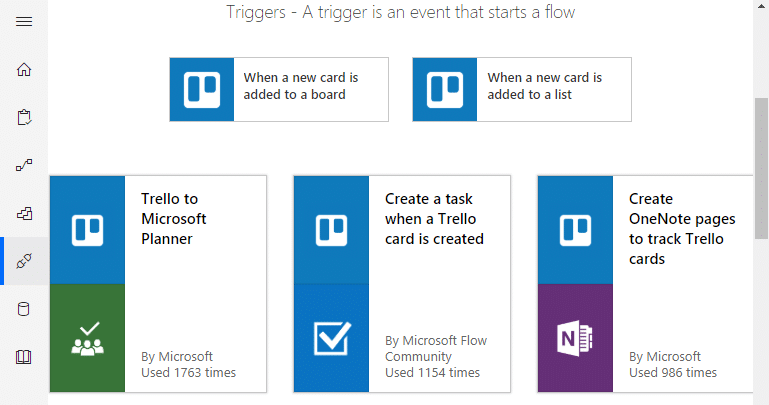
You can browse the list of Connectors accessible in the left sidebar. Scroll through the list to take a look at the available options, or use the search box at the top to find what you’re looking for. When you click one, you’ll see a brief description and a list of Triggers. These are events in a service that can start a flow.
For further ideas, each connector also includes a list of templates that use it.
Create Your Own Flows
Templates are a great way to start working in Flow, but the real power comes from creating your own workflows. Click My flows in the left sidebar, then New > Create from blank at the top of the page, to make one.
The site will recommend popular triggers to start with, or you can click Create from blank again to start from scratch. Search in the top box for a trigger you want to set off a flow. Let’s say that every time someone mentions our account on Twitter, we want to log the entry in a spreadsheet so we can follow up with them.
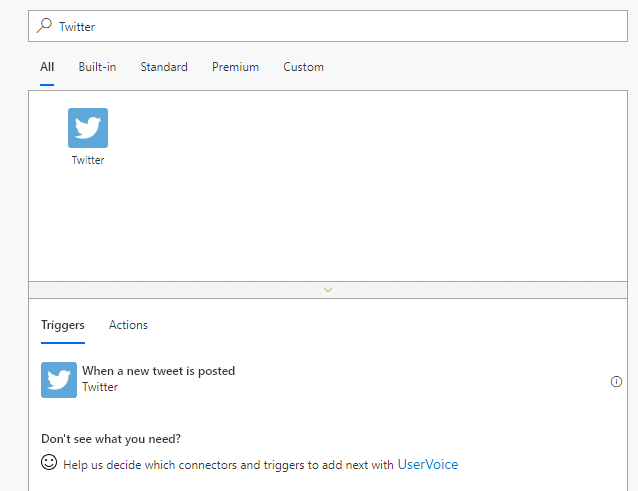
Search for Twitter and select that option, then choose from the available Triggers. Some apps have multiple events that can kick off a flow; Twitter only has When a new tweet is posted, so we’ll select that. After logging in, you can choose the search criteria this should match.
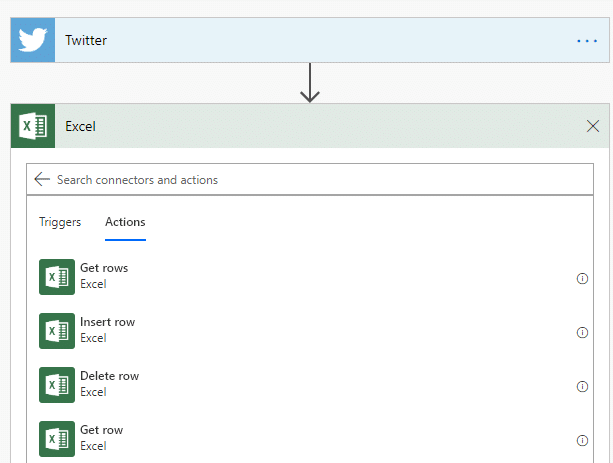
Next, we need to select an Action, or result of the flow. We want to add a cell to a spreadsheet, so search for Excel and choose that. The Insert Row command makes sense for this.
From there, you’ll need to choose a spreadsheet file and table to add the row to. Flow also lets you insert Dynamic content, so you can choose data from the tweet to include. These include the user’s screen name, time of message, and more.
When you’re done, you can click Flow Checker in the top-right to make sure everything is correct. Then click Save and you’re done with that flow.
Get Creative With Microsoft Flow
This is only an introduction to Microsoft Flow’s power. Connecting your most-used services together can save you lots of time by automating repetitive tasks. Cutting down on manual busywork is always great, so why not give Flow a try and see what it can do for you?
We’d be happy to hear down in the comments about the flows you’ve created!